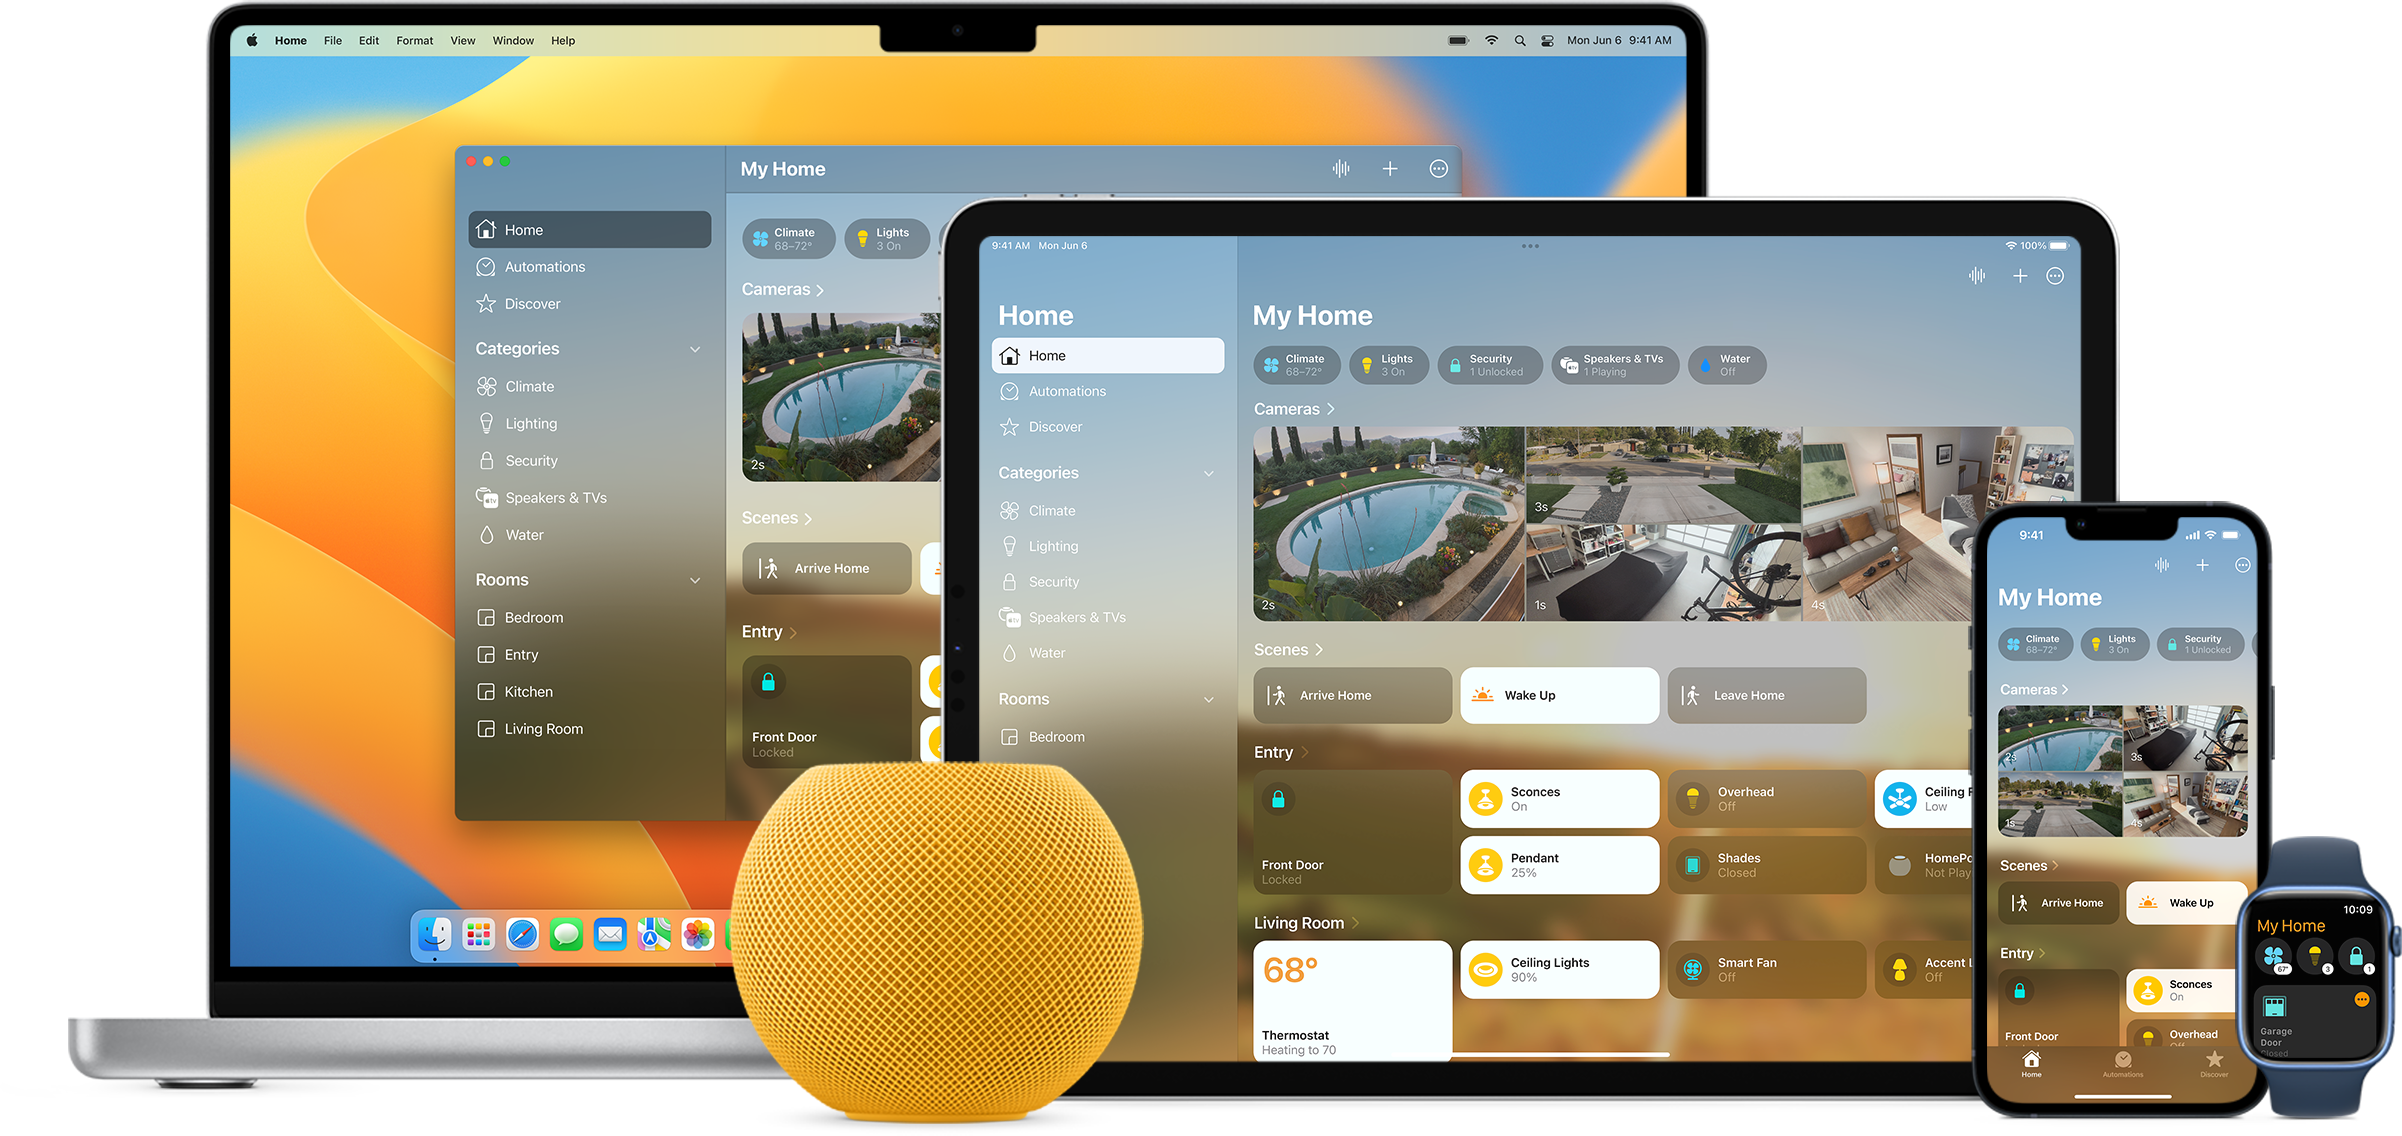
随着智能家居设备的普及,苹果HomeKit凭借其封闭生态的安全性和流畅体验获得大量用户青睐。然而受限于官方认证体系,许多第三方设备无法直接接入。Homebridge作为开源解决方案,通过Node.js构建的虚拟HomeKit桥接器,成功突破这一限制。本文将从技术实现原理到工程实践,系统性解析如何利用Homebridge构建个性化智能家居控制中枢。
一、环境部署与基础架构
1.1 系统要求与安装流程
Homebridge支持Linux/Windows/macOS三大平台,推荐使用树莓派等ARM设备实现低功耗运行。安装过程分为三步:
# 安装Node.js环境(需14.x以上版本)
curl -fsSL https://deb.nodesource.com/setup_14.x | sudo -E bash -
sudo apt-get install -y nodejs

# 全局安装Homebridge
sudo npm install -g --unsafe-perm homebridge

# 创建配置目录结构
mkdir -p ~/.homebridge
cd ~/.homebridge
touch config.json package.json
1.2 配置文件深度解析
核心配置文件config.json采用JSON格式,包含四大核心模块:
{
  "bridge": {
    "name": "Homebridge",
    "username": "CC:22:3D:E3:CE:F0",
    "port": 51826,
    "pin": "031-45-152"
  },
  "accessories": [],
  "platforms": [],
  "platforms": [
    {
      "platform": "config",
      "name": "Config",
      "port": 8581,
      "sudo": false
    }
  ]
}
其中platforms字段用于集成智能家居平台插件,accessories则定义具体设备实例。
二、插件生态与设备接入
2.1 官方认证插件体系
Homebridge通过插件机制扩展设备支持,目前生态包含3000+插件。接入流程分为三步:
- 在
package.json中声明依赖
"dependencies": {
  "homebridge-http-light-platform": "^2.0.0",
  "homebridge-mqttthing": "^5.3.0"
}
- 更新配置文件集成平台
{
  "platform": "MQTTThing",
  "name": "MQTT Devices",
  "mqtt": {
    "server": "mqtt://localhost",
    "port": 1883
  }
}
- 通过Home应用添加配件
2.2 特殊设备适配方案
针对非标准协议设备,可采用中间件方案:
- HTTP API设备:使用
homebridge-http插件,通过GET/POST请求控制 - Zigbee设备:配合
homebridge-zigbee插件和CC2531适配器 - 红外家电:结合
homebridge-lirc插件和红外发射器
三、自动化场景构建
3.1 时间驱动型自动化
通过配置automation模块实现定时任务:
{
  "automation": {
    "name": "Evening Lighting",
    "trigger": "time",
    "at": "19:00",
    "action": "setBrightness",
    "params": {
      "accessory": "Living Room Lamp",
      "brightness": 50
    }
  }
}
3.2 事件联动策略
利用homebridge-eventedthing插件实现设备间联动:
// 监听门窗传感器状态
sensor.on('contact', (state) => {
  if (!state) {
    homebridge.lights.turnOn('Security Light');
    homebridge.camera.recordStart();
  }
});
四、高级功能开发
4.1 自定义插件开发
遵循Homebridge插件开发规范,创建基础结构:
const HomebridgePlatform = require('homebridge');

module.exports = function(homebridge) {
  homebridge.registerPlatform('com.example', 'CustomPlatform', CustomPlatform);
};

class CustomPlatform {
  constructor(log, config, api) {
    this.log = log;
    this.config = config;
    this.api = api;
  }

  accessories(callback) {
    const accessory = new CustomAccessory(this);
    callback([accessory]);
  }
}
4.2 性能优化技巧
- 负载均衡:使用PM2进程管理器实现集群部署
- 状态缓存:在
getCharacteristic方法中添加本地缓存机制
getBrightness() {
  if (this.cache.brightness) return this.cache.brightness;
  return this.fetchActualBrightness().then(value => {
    this.cache.brightness = value;
    return value;
  });
}
五、安全与维护
5.1 网络安全加固
- 配置防火墙仅开放必要端口(默认51826)
- 使用Let's Encrypt证书启用HTTPS加密
sudo apt install certbot
sudo certbot certonly --standalone -d yourdomain.com
5.2 日志监控体系
通过ELK栈实现日志集中管理:
# 安装Filebeat日志采集器
curl -L -O https://artifacts.elastic.co/downloads/beats/filebeat/filebeat-7.10.2-arm64.deb
sudo dpkg -i filebeat-7.10.2-arm64.deb

# 配置采集规则
filebeat.inputs:
- type: log
  paths:
    - /homebridge/logs/*.log
output.elasticsearch:
  hosts: ["http://elk-server:9200"]
总结
Homebridge通过开源架构和插件生态,为开发者提供了构建智能家居系统的强大工具链。从基础设备接入到复杂场景自动化,其模块化设计和灵活扩展性不断突破HomeKit生态边界。随着物联网协议的持续标准化,Homebridge在边缘计算场景中的价值将更加凸显,开发者可通过持续优化插件生态,实现智能家居系统的无限可能。